
Edge Paint Tutorial
- basecoat
- edge paint
- topcoat
- Something to hold your project while it dries, I like the Helping Hands from Mojo Sews, but you can also just lay it on top of other edge paint jars.
- Paint tool with a flat side (a cuticle pusher is perfect for this job)
- Paint roller tool
- Kids paint brush(I buy a cheap multi pack)
- Fine grit sand paper


You need to let each coat dry for at least 30 minutes before you move on to the next coat of anything. Humidity can make a difference, so just be prepared to wait if needed.
. 
You will start with your basecoat. This is where I like to use a flat edged tool so I can just gently push it where I want it to go. The roller tools also work, however this glue can be tough to clean out of those ridges. It will take 3-4 coats, and be sure to do very thin layers. The first coat will basically just soak in to your vinyl and create a barrier. Layer 2 will just begin to even everything out. Whether you do 3 or 4 layers is personal preference, but these layers will build that perfectly even base. Lightly sand between layers as needed.


After you finish the basecoat, you should have a beautiful surface for the paint! 
For the paint, I like to use a paint roller tool. Typically 3 coats is a good amount to completely cover the edge. Be sure to wait until it is completely dry between coats or you chance making marks in it. Sand gently between coats.


The topcoat is all we have left! I like 2 coats to make it super smooth and shiny. For this step, I just use the cheap kids watercolor paint brushes! I buy a multi pack so I can replace them often. Once again, thin layers and wait until dry between coats...you are probably so sick of hearing me say that, but it's seriously THAT important!


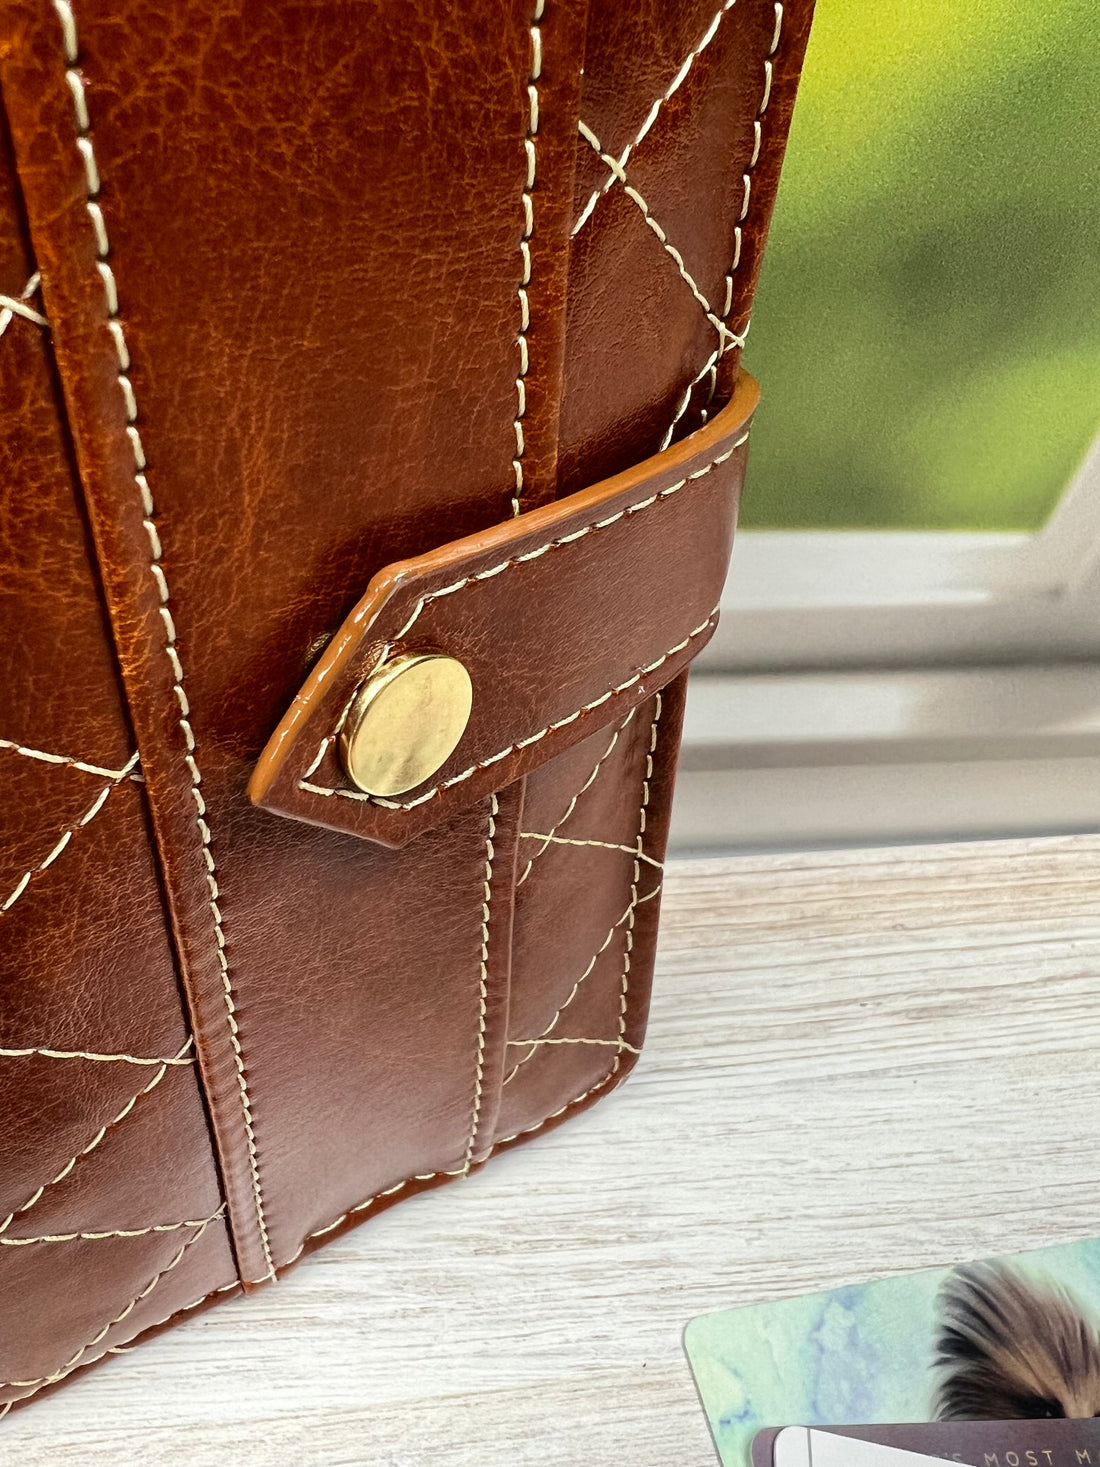
And there you have it... a beautifully finished edge! See, that was easy, wasn't it?!!!

These snap tabs are from my Ivy Wallet but this is the process you would use no matter the project!

Happy Painting...and Sewing!